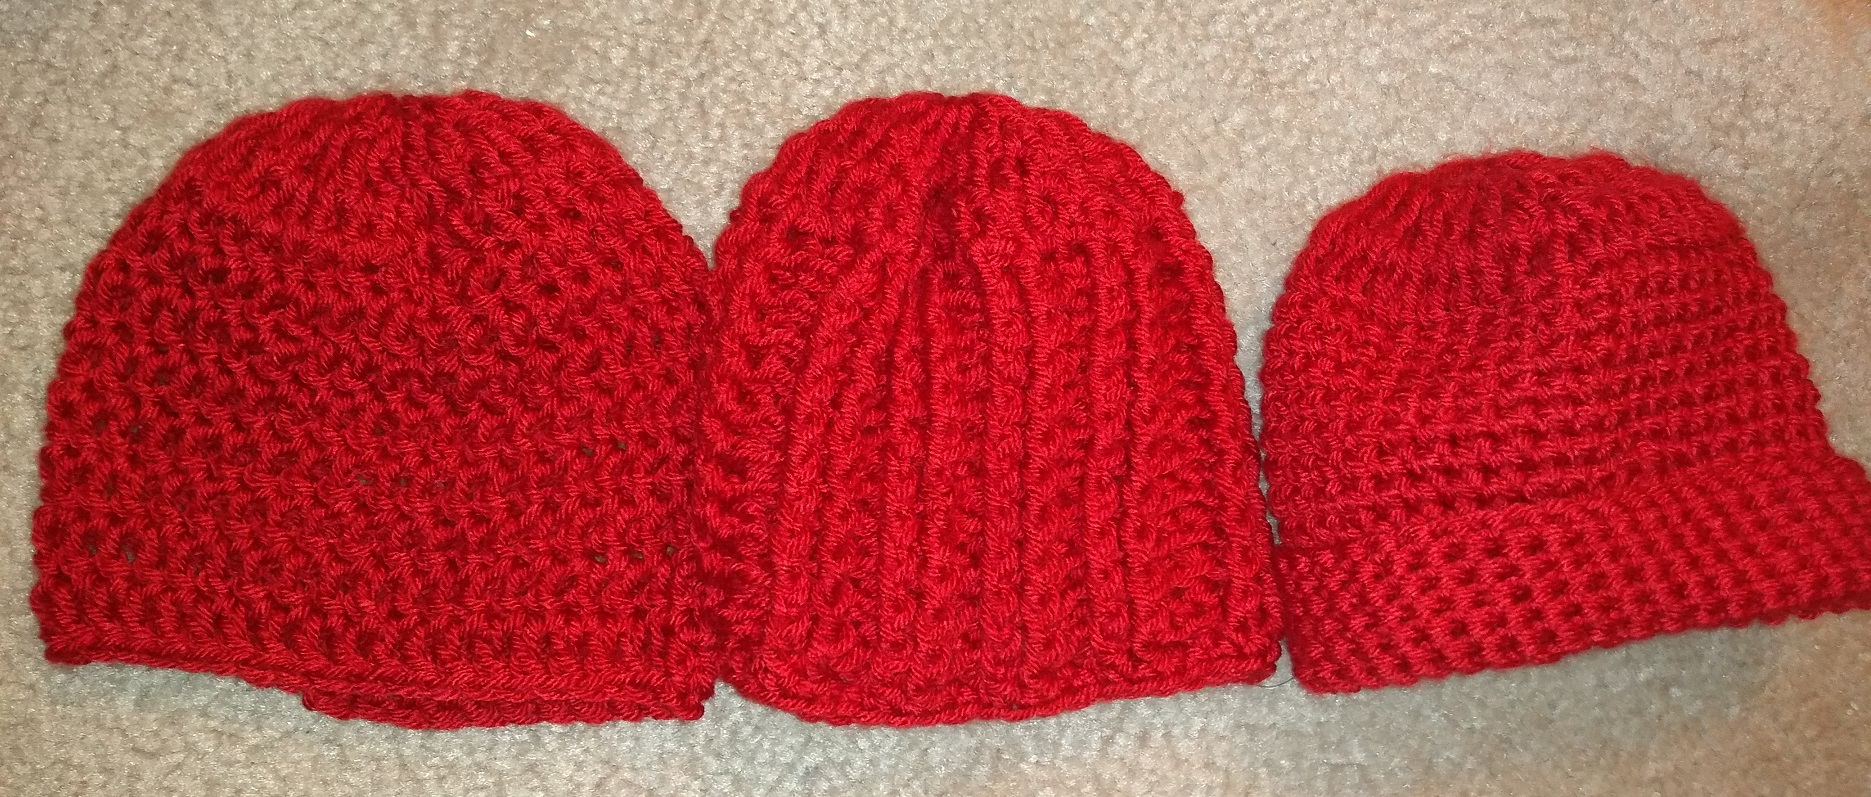
Patterns are like recipes. If you have an understanding of cooking and what flavors you like then you can make some changes that would suit you. The same goes for patterns. I was looking for a simple newborn baby hat online that I was going to use to teach a group to crochet. I was overly ambitious in what I thought we would be able to accomplish in an hour and I researched several baby hat patterns online. Though I have made dozens of baby hats, I don’t necessarily follow a pattern anymore. There are times when I make what I feel or make something according to the amount of yarn I have left, the amount of time I have or to whip up something quickly that is mindless after the first few rounds or rows.
In searching for a hat that I thought the students could make, I tried out a couple and then followed the basic instructions for the first one, then made it my own. I started with fewer chains in the first round, then didn’t join the rounds as I went along. My gauge didn’t match the others and I just ended up saying keep going around after the first three rounds until it measured approximately 6 inches from the crown. This crocheting epiphany was a miracle. I had shunned working on top down hats because of the increasing. The first hat that I made for myself had a lot of increases, which now that I look back on it, they were unnecessary for subsequent rounds. Instead, I made bottom up hats and decreased or side to side hats and joined them. I am not a fan of joining, but it was much better than increasing every other row.
Now that I have a pattern that I like, I used it to make my own hat, which I really like and have discovered that I can use the same basic foundation rows for the crown and then use other stitches for the body of the hat. Depending on the stitch pattern for the body, I have also made adjustments and added a couple of stitches so that the hat will still stretch and fit a baby’s head – approximately – with a 13 inch circumference and possibly fit a baby’s head up to 15 inches when stretched.
Here’s my B3 Hat pattern [basic baby beanie]:
Round 1
Chain 4, slip stitch (sl st) in first chain to form a loop, crochet 12 double crochet (dc) into loop – (12dc); slip stitch to join circle (12 stitches in circle)
Round 2
Chain 2 (counts as a stitch here and throughout),
1 double crochet in same st as chain stitch (cs),
2 double crochet in next stitch & in each stitch around, slip stitch in top of chain to join – (24 stitches in circle)
Round 3
Chain 2, 2 double crochet in next stitch,
1 double crochet in next stitch, 2 double crochet in next stitch
repeat from * to * until end [2 double crochet in every other stitch], slip stitch in top of chain to join – (36 stitches in circle);
Chain 2, then
Continue working 1 double crochet in each stitch until hat reaches approximately 6 inches from crown to brim.
Fasten off with a single crochet stitch and weave in all tails.
If you want to do something other than double crochet for the body, after round 3 get fancy. I did one with 2frontpost/2backpost ribbing and another with single crochet. The possibilities are endless now that I have the basic crown under my belt.
Let me know how this pattern works out for you!
Happy crocheting
