Want to get it right this time
Want to get it right this time
Want to get it right this time
“Complicated” – Poi Dog Pondering
 This is how I feel when I have to frog projects and rip things out. Only to have to rip out a section and start again. I tried a new-ish stitch pattern. I liked how it turned out the first time I tried it with a different yarn and thought that the stitch pattern would look nice in a color changing yarn. It did but the yarn was a heavier weight and made it a difference in the drape. At the end of the rows it started curling up. The rows were the same width but there was a slight curl on the edges like a soft ripple.. I persevered. Then when I added another skein of the same yarn, same dye lot, same hook, same stitch and everything… something happened. The rows got wider. I had mistakenly added a stitch. So I ripped everything out from that section and began again. It happened again. I checked and counted and there were the same number of stitches but my gauge was totally off with the addition of this new skein. I tried a third time. Same thing.
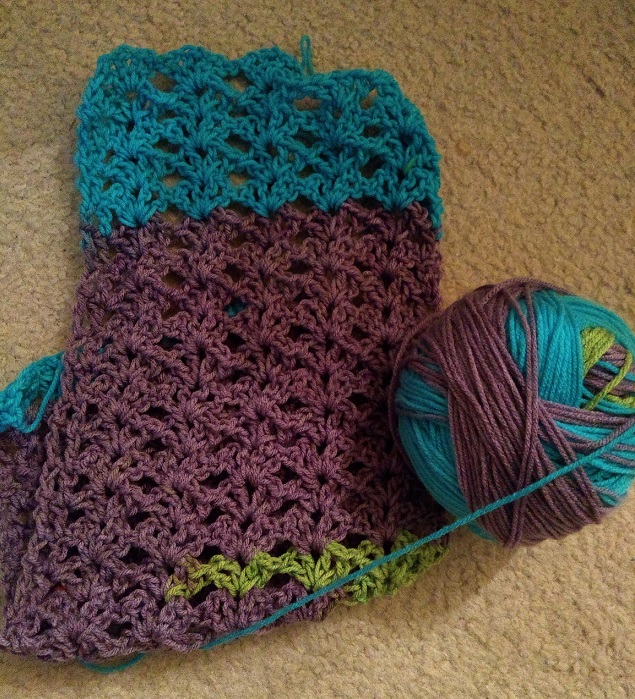
 Then I decided to give up, rip it out and find a new stitch. I only did a couple of rows because I unraveled, and rewound and started fresh in an open shell stitch [Star stitch, from the Crochet Bible], one that I hadn’t done in a while. It’s similar to the Iris stitch that I started in the current lunchtime scarf. It’s started out better than the previous one and I don’t think my gauge will vary. Some stitches work best with lighter weight yarn to create a better drape with the yarn. The heavier the yarn, the “less fiddly” or rather, simpler the pattern should be because the weight of the yarn is an element itself and changes the drape.
I add an additional border when I work on many scarves because I like to have something sturdier to work on, the edges are sturdier and I do the same in scarves that I make for myself.
Here’s the pattern that I used – the stitch pattern calls for a multiple of 4 plus 1, plus 3 for the starting chain. I eliminated the 3 for the starting chain because I start the pattern on what would essentially be the third row, because I want to (again) have a more substantial foundation. Instead of just a double crochet (or one turning chain) at the ends I have two double crochets at the ends (one ch 2 at the end and one double crochet).
 The pattern I used with the single crochet starting row and additional stitches at the ends goes like this:
Chain 26,
turn, single crochet in 25 chains to end of row
Chain 2, turn
Dc in second chain [chain 2 serves as dc], sk 2, [in the fifth single crochet in row] *dc, ch 1, dc, ch 1, dc, ch 1, dc; skip 3 *, repeat pattern * * until there are four stitches left in row; skip two, dc in last two, chain 2, turn.
Repeat row three to desired length, single crochet in last row.
[Note: Depending on the yarn and hook, I may chain 3 at the end of each row so that the stitches aren’t as tight and drapes better.]
Writing it out make this seem more complicated than it is but the results are great. Once you get the hang of it, the project will work up quickly.
Happy Crocheting!